HOPPED UP, LIKE A KID ON CANDY

HOPPED UP, LIKE A KID ON CANDY
After fixing things up from a mishap with my CO2 lines, I am back at bottling again. Since I’ve been brewing, I’ve had a kegerator and never really bottled much. But then after several batches I felt like sharing my creations. I would love to brew even more often, I just can drink it all!
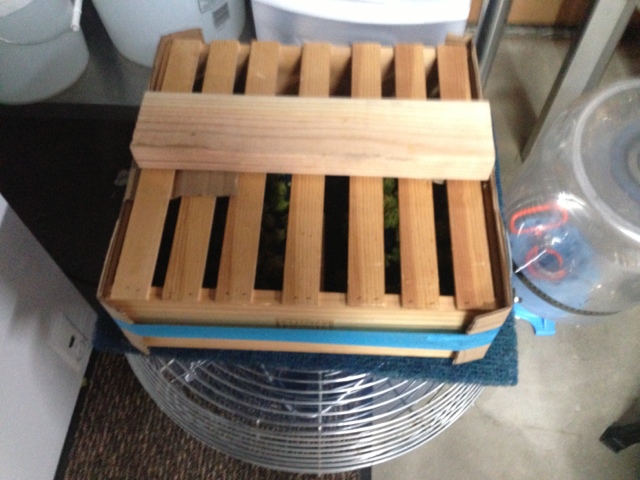
I bottled a few times using a Blichmann Beer Gun (this works awesome and is super easy) and a box of new bottles. Since I asked for the bottles back, they started stacking up and needed some cleaning. I was cleaning them individually by hand and just drying the upright on my counter. This took up a lot of space (just ask my wife) and I didn’t like the idea of hard water settling inside.
Since I follow http://www.homebrewfinds.com on twitter, and basically stalk their posts everyday, I came across the FastRack. This system/tool/device, whatever pleases you, is the perfect design for bottling day and bottle storage. Here, let me show you…
I was bottling my Amarillo Shoal Pale Ale and my Seven Seas Pale Ale. After I cleaned my bottles I placed them upside down in a FastRack that is sitting in the catch tray (sold separately). This allows the liquid to keep draining out without a mess and keeps the bottles all organized. Then I tossed my bottles in sanitizer (Star San) for a couple minutes.
Straight out of the sanitizer and back onto the FastRack, these bottles are now clean, sanitized and ready for bottling. The FastRack keeps your bottle tops from touching anything to help avoid contamination.
It can old different size bottles as well, I was just using the basic 12oz size.
Don’t Fear The Foam! Starsan Sanitizer allows Continue reading
It’s not cool to go to pull a beer from draft and nothing comes out. If you’ve been in this situation, then you know the feeling…
The way this came about has to do with me bottling some homebrew with my Blichmann beer gun. I was going to post a link to my page about it, but apparently I haven’t created one yet…look for it soon.
My kegerator is setup with a dual tap and for the bottling gun I needed an extra gas line. I picked up a ‘T’ for my CO2 tubing, along with several other parts and split off one of my main lines to make a third. All-in-all it worked well, however the problem I had was how to keep the third line shut-off when I’m not bottling. I added a shut-off valve to it, however with all the hoses, 2 kegs, and some beer bottles in the kegerator, anytime I moved something the valve seemed to get bumped. So I removed the valve and just kept a gas connector on the end of it as a plug.
I don’t recall exactly what I did, but one night after work, I went to poor some of my Amarillo Shoal Pale Ale and NOTHING. I quickly opened the kegerator door and looked at my gauge..EMPTY. Ugghh!
I was frustrated enough, but, after I picked up a refill on my CO2 ($12.00 at a local gas supply store – not bad) I took out everything in the kegerator, took apart all the hoses and put it back to the ‘stock’ setup. I was back in business and could kick back and enjoy a cold one. They lost a little carb, but not too bad.
Fast forward a little while… I must not have learned, because I really wanted to bottle some to share, so I connected it all back up – just made everything tighter. I am placing an order for a 4-way CO2 distributor, and some other parts, to do this properly. I will also be moving my CO2 to the outside of the kegerator so I can fit 3 kegs inside a lot easier. Maybe one day I’ll build a bar and add a 3rd tap, that would be awesome!
It’s harvest time for my 1st year hops…so I think. Based on several readings, my hops may be towards the end of ripeness, but then again, maybe they are juuuust right.
1st year crops are not expected to yield much, if any at all. The main role for that 1st year is to grow a good root structure so it can come back the following year very strong. I picked both Centennial and Chinook hops, and by the looks, I’m thinking maybe I will get a half ounce each once they are dry.
Picking was easy, except I did need a chair to get to the top of my trellis. The Chinook hops were larger cones than the Centennial you see in the photo below.
Now what? Well you can use them fresh, however I wasn’t ready to brew. So, I have to dry them. It takes about 3 days to dry hops if done properly. Since I had a small harvest, I was able to do the crazy thing you see in the photo below. Next year I will have to figure out how to dry them more in bulk.
Cheers!
BrewBit is a temperature control system that is wifi connected and allows you to check and control it from anywhere. I just pledged money towards this Kickstarter project to see it become a success, with my pledge amount getting me one with dual temperature probes…check it out…http://kck.st/13kN3yG
I’ve been using the Johnson Temp Control for a little while and definitely think it works well, however I am in the technology field professionally and love gadgets. This new product will especially come in handing with my heating options.
BrewBit Model-T is an open source WiFi enabled temperature controller specifically crafted with the homebrewer in mind. It takes homebrewing to the next level giving you ultimate control over your brewing, any time any where.
It ships in March 2014, so be sure to check back then for my update.
For more information, visit http://brewbit.com.
Some craft brewery memorabilia I picked up on a road trip. It now adorns my homebrew fermentation chamber.
Thanks to:
@Hangar24Brewery @Karl_Strauss @newbelgium @gcbrewpub @DryDockBrewing @sincitybeer @RockBottom @ San Luis Valley Brewing Company
I’ve never grown hops before, but I’ve done some simple gardening. There are a lot of resources available online and several books. I picked up ‘The Homebrewer’s Garden: How to Easily Grow, Prepare, and Use Your Own Hops‘ by Dennis and Joe Fisher (see it on Amazon).
I had to first build my Hop Trellis…
There are so many designs available on the internet and none really explained one that would fit my needs, so I went with 4 single posts, each 3 foot deep secured with cement. The posts are 4 x 6 x 12′, with 2 x 6 cross bars bolted through each post.
Hops also like sunlight and in my case, this allows for the hops to be facing the sun most of the day, while also being at an angle where the wind doesn’t hit them directly on.
I prepared each hop hole by digging about 2 1/2 feet deep and wide, then mixed in a good amount of mulch. Hop growing resources tell you to make a mound and bury it just a few inches under the surface, burying them where the sprouts are facing up.
Then I strung several lines of twine for each spot, up about 9′ to eye hooks I put in at the top.
I finally gave this a shot. Based on the recipe in my previous post, I figured why not try it with some homebrew – I used my own BD4 Nut Brown Ale for these.
The process does take a little time, however the result is outstanding. Just keep in mind, this isn’t for eating more that 3 strips – after that, it becomes overwhelming and too much candied bacon… Even for me.